Yubikey as SSH and HTTPS client authentication token09. Mar '17
On Ubuntu you might want to try to use PPA maintaned by folks at Yubikey. On Fedora install following packages:
yum install libykneomgr libu2f-host yubico-piv-tool
pip install yubikey-neo-manager
To start Yubikey Neo Manager:
neomanDisable OTP and U2F, otherwise touching Yubikey causes one time passwords to be typed. Leaving CCID on provides still GPG and PKI applets. In this example PKI token mode is explored.
Setting up key pair
First let Yubikey generate the private key and dump the corresponding public key to a file.
yubico-piv-tool -s 9a -a generate -o pubkey.pemIn case you have a Certifiate Authority set up and you want to use Yubikey for HTTPS authentication create certificate signing request. Send the resulting req.pem to your CA administrator and wait for signed certificate file, store it in cert.pem and proceed with certificate import below:
yubico-piv-tool -s 9a -a verify -a request \
  -S /CN=$USER \
  -i pubkey.pem \
  -o req.pem
In case you're not operating CA or you're only interested in using Yubikey for SSH authentication sign the public key with the same private key and PIN code (default 123456), this is just to satisfy the quirks of the device used as PKI token even though SSH doesn't care about certificates in that sense:
yubico-piv-tool -a verify-pin -a selfsign-certificate -s 9a -S "/CN=SSH key/" -i public.pem -o cert.pemFinally import the signed certificate back to Yubikey:
yubico-piv-tool -a import-certificate -s 9a -i cert.pemNow check the status of your Yubikey:
yubico-piv-tool -a statusSetting up SSH
Extract public keys on the Yubikey in the SSH format:
ssh-keygen -D opensc-pkcs11.so -eCopy the public key and paste it to server's ~/.ssh/authorized_keys file.
Test logging in with following, the default PIN is 123456:
ssh -I opensc-pkcs11.so username@hostnameSetting up SSH agent
Getting SSH agent to work is a bit tricky because ssh-agent wants to set up some environment variables used by ssh-agent, so far the easiest way to achieve it is this:
eval `ssh-agent -s`
ssh-add -s /usr/lib64/opensc-pkcs11.so
To make it sort-of permanent add an alias into your shell configuration:
cat << \EOF >> ~/.bashrc
alias y='eval `ssh-agent -s`; ssh-add -s /usr/lib64/opensc-pkcs11.so'
EOF
Spawn a new shell session and use alias y to load keys and enter PIN code for the hardware token.
Setting up web browser
Assuming all packages have been installed no configuration should be necessary. When accessing properly configured web server where client validation is required the browser should automatically try to offer certificate stored on Yubikey, just enter pin code to unlock the token:
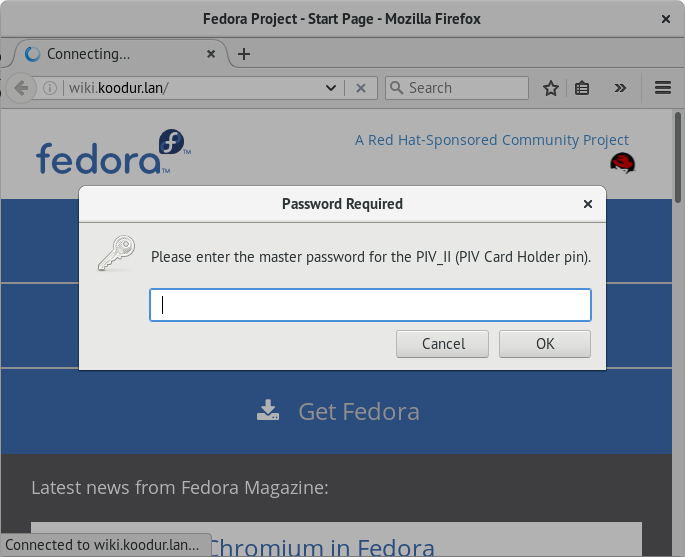
Enter pin code to unlock authentication certificate, default pin is 123456
If multiple certificates can be offered certificate selection is prompted:
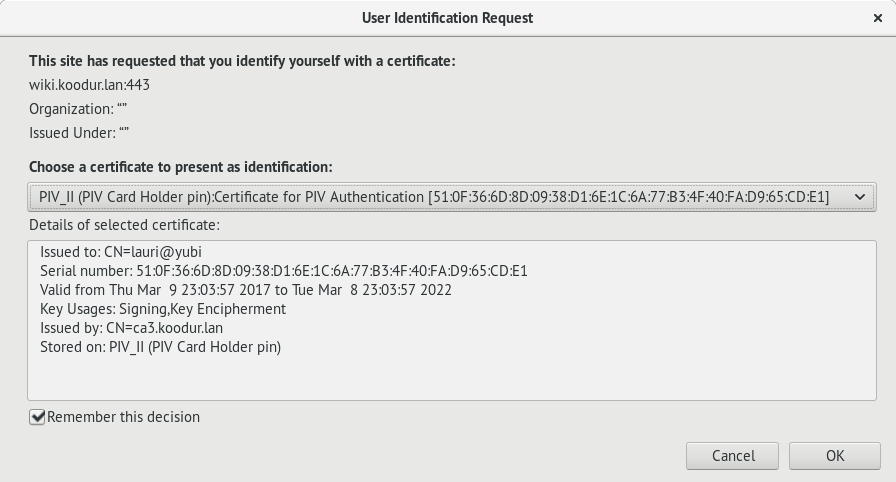
Select which certificate should be presented for TLS handshake
Conclusion
Using Yubikey reduces the risk of leaking private RSA keys from your computer via malware or losing access to servers when ransomware hits your computer. If keylogger happens to be installed PIN codes can easily be captured and recognized, so if token happens to be lost corresponding certificates should still be immideately revoked and public keys removed from SSH server (s). If attacker has gained access to a computer where Yubikey is used he can still from there on hop to the servers accessible using the key without having physical access to the key assuming that knowledge about the PIN code has been gained or ssh-agent is used.
Also Yubikey has tool for managing the PKI applet, might become handy:
pip install yubikey-piv-manager
pivman