Yubikey as hardware token for GPG19. Mar '17
Introduction
GPG is most often used to encrypt and sign e-mails within software developer communities and cyberpunk circles. You also find that GPG is used to verify packages when you install software on your Ubuntu or Fedora box. GPG keyring can also be used for authenticating SSH connections.
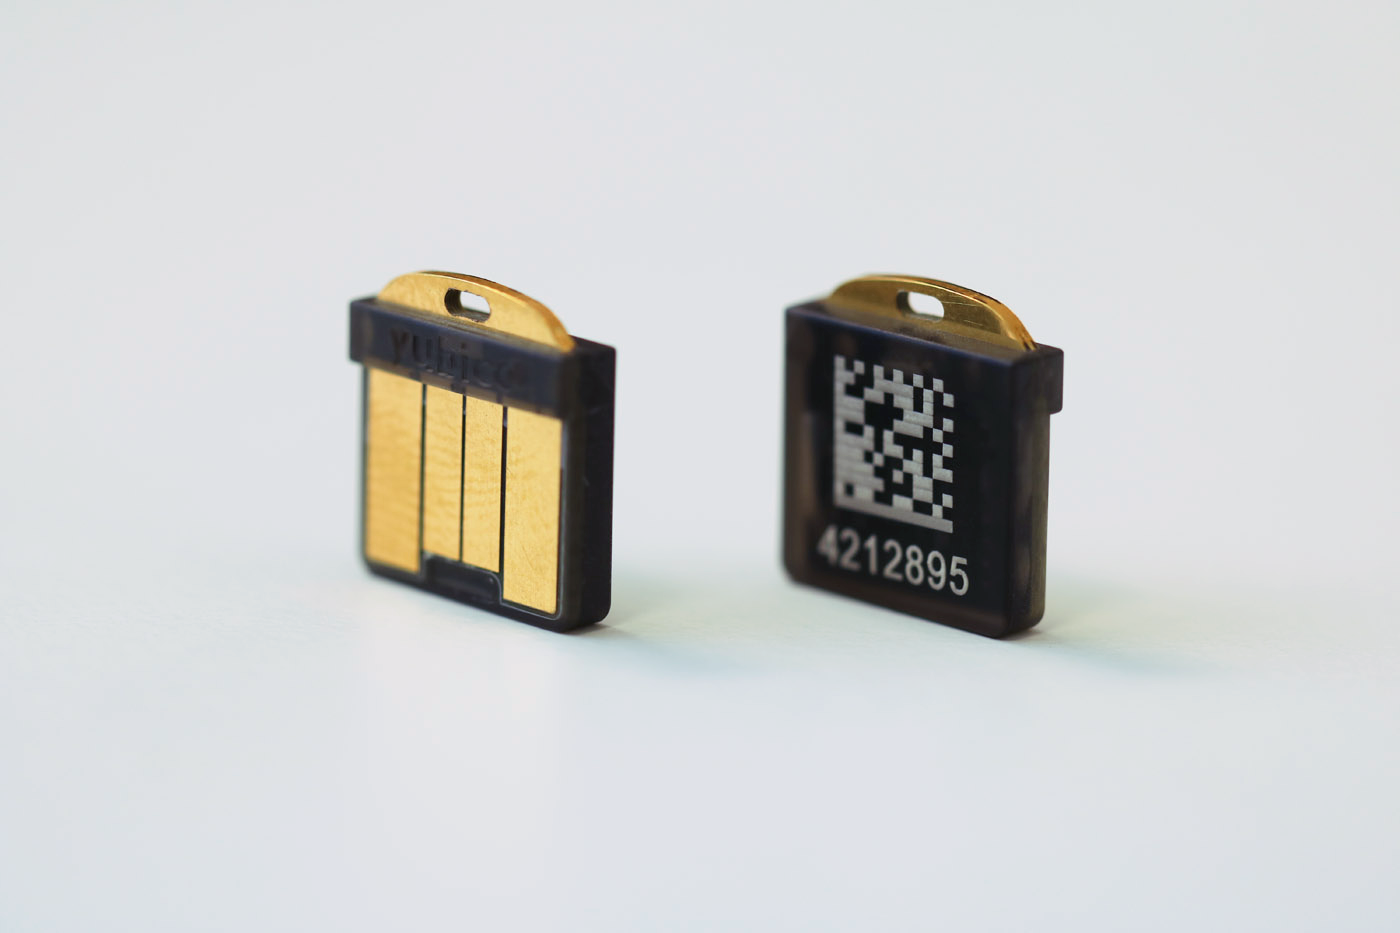
Yubikey 4 Nano is one of the tiniest OpenPGP compatible hardware tokens on the market. With hardware token the your RSA private keys used by the GPG are not readable in the filesystem as it would usually be under ~/.gnupg directory.
Yubikey 4 Nano can be left in the USB port without damaging the key or the port
Using GPG to send encrypted/signed e-mail can be done via variety of applications each one coming with a different support level for hardware tokens such as Yubikey:
Encrypting on command line as shown below works perfectly with Yubikey, but is cumbersome to use for newbies.
Evolution has full GPG support built-in on Fedora, supports hardware tokens such as Yubikey for signing and encrypting. Retrieving correspondent's keys and setting trust level still has to be performed on command-line as shown below.
Enigmail is a GPG plugin for Mozilla Thunderbird, supports hardware tokens, good user interface integration - untrusted senders key can easily be signed.
Mailvelope generates keys internally and currently can't make use of hardware token
Important
PIV and PGP modes can't be used simultaneously
scdaemon which is used by GPG as backend to access smartcards exclusively locks the card even if configured to use PCSC-Lite as backend. Firefox similarily wants to have exclusive access to the token when there are valid certificates present in the PIV applet. This means that currently PGP and PIV modes can't be used simultaneously.
Important
GPG has most often two versions installed: gpg and gpg2
Following guide focuses on gpg2 only. When gpg command happens to be executed accidentally at wrong time gpg-agent could be started with flags incompatible with gpg2, in that case kill gpg-agent process.
Setting up Yubikey
Install GPG v2.x if it hasn't been installed yet:
apt install gnupg2First check whether GPG detects your token:
gpg2 --card-statusIf you have Estonian ID-card reader hooked up to the computer you might have conflicts with web browsers, so it's a good idea to tell GPG reader name:
cat << \EOF >> ~/.gnupg/scdaemon.conf
reader-port "Yubico Yubikey 4 CCID"
EOF
Set up Yubikey, this is roughly equivalent to gpg2 --full-gen-key:
gpg2 --card-edit
admin
generate
Add identities, eg. when you use multiple e-mail addresses or aliases and set the trust level to ultimate for all of your identities:
gpg2 --edit-key first.last@example.com
adduid
trust
Export your public keys and upload it to a HTTP(S) accessible URL:
gpg2 --export --armor > lauri.ascAdding trusted people
As the root of trust is your own key, everything that is to be implicitly trusted has to be signed by yourself - hence to trust someone you first need to retreive their public key:
wget https://www.koodur.com/lauri.ascImport it to your keyring located in your home directory (~/.gnupg/keyring.kbx):
gpg2 --import lauri.ascVerify that the 40-character fingerprint of the imported key matches via other means eg. by giving a call via phone, meeting face to face or taking part of a keysigning party. Finally sign the public key identified by e-mail address:
gpg2 --sign-key lauri.vosandi@gmail.comAlternatively keys can be fetched and imported from publicly operated keyservers, in that case 40-character key fingerprint and keyserver hostname is required. For example in order to import key used to sign CERT-EE (RIA) e-mails following commands should suffice. In this case pgp.mit.edu is keyserver operated by Massachusetts Institute of Technology:
gpg2 --keyserver pgp.mit.edu --recv 48319D213649047F197EA9CD86C6D4D43601B6D1
gpg2 --sign-key cert@cert.ee
Publishing your key
Use following to list your keys, your key fingerprint is the 40-character string just above your identities and e-mail addresses:
gpg2 --list-keysMost commonly used keyservers can be found at Wikipedia. To prevent key collision attacks it might be good idea to upload your key to all of the listed servers there as it is very common that users specify only last 8 digits of the fingerprint to import keys.
gpg2 --keyserver pgp.mit.edu --send-key E1BC859AFC900AA925F1BAF33E1E3B1EE82AD8C0Encrypting and decrypting arbitrary files
To encrypt a file you need to have recipient's public key in your keyring as shown above. To encrypt a file and output it in ASCII armored format:
gpg2 -r lauri@koodur.com -a -o encrypted.asc -e plain.txtTo dump decrypted document on command line:
gpg2 -d encrypted.ascTo save it into a file:
gpg2 -d encrypted.asc -o decrypted.txtUsing GPG authentication keypair for SSH
Following starts up GPG agent and exports SSH agent environment variables for currently running shell:
eval `gpg-agent --daemon --enable-ssh-support`To export public keys from the GPG applet on Yubikey in SSH format use following command, you should see Yubikey keys with comment cardno: 000123456789 where the number is your Yubikey serial number:
ssh-add -LAs usual copy the public key to your server's ~/.ssh/authorized_keys.
When attempting to log into the server you're supposed to be prompted with a graphical PIN code dialog. Any subsequent login attempts in the same shell should proceed without having to ask for the PIN code.
Permanent configuration for GPG agent
It's very tricky to get this right. Following was tested on Fedora 25.
GPG agent wants to show PIN dialog on demand so it has to get graphical session environment variables right ($DISPLAY, $WAYLAND_DISPLAY etc).
Easiest way is to create autostart file:
cat << \EOF > ~/.config/autostart/gpg-agent.desktop
[Desktop Entry]
Type=Application
Name=gpg-agent
Comment=Autostart GPG agent
Exec=/usr/bin/gpg-connect-agent /bye
Terminal=false
EOF
Tell gpg-agent to export ssh-agent compatible socket:
cat << \EOF >> ~/.gnupg/gpg-agent.conf
enable-ssh-support
default-cache-ttl 90
ignore-cache-for-signing
EOF
Override environment variables when terminal is opened:
cat << \EOF >> ~/.bashrc
unset SSH_AGENT_PID
export SSH_AUTH_SOCK="${XDG_RUNTIME_DIR}/gnupg/S.gpg-agent.ssh"
EOF
Kill all the relevant processes, log out and log in again. When attempting to ssh to a remote box PIN dialog should pop up.
Using same Yubikey on another computer
Import your public keyring, eg in my case:
gpg2 --keyserver pgp.mit.edu --recv-key E1BC859AFC900AA925F1BAF33E1E3B1EE82AD8C0On the first computer export secrets, in Yubikey case this should export only stubs which tell GPG to look for the key on a hardware token:
gpg2 --export-secret-keys -a -o secretsCopy the file to new machine:
scp secrets new-machine:On the new machine:
gpg2 --import secrets